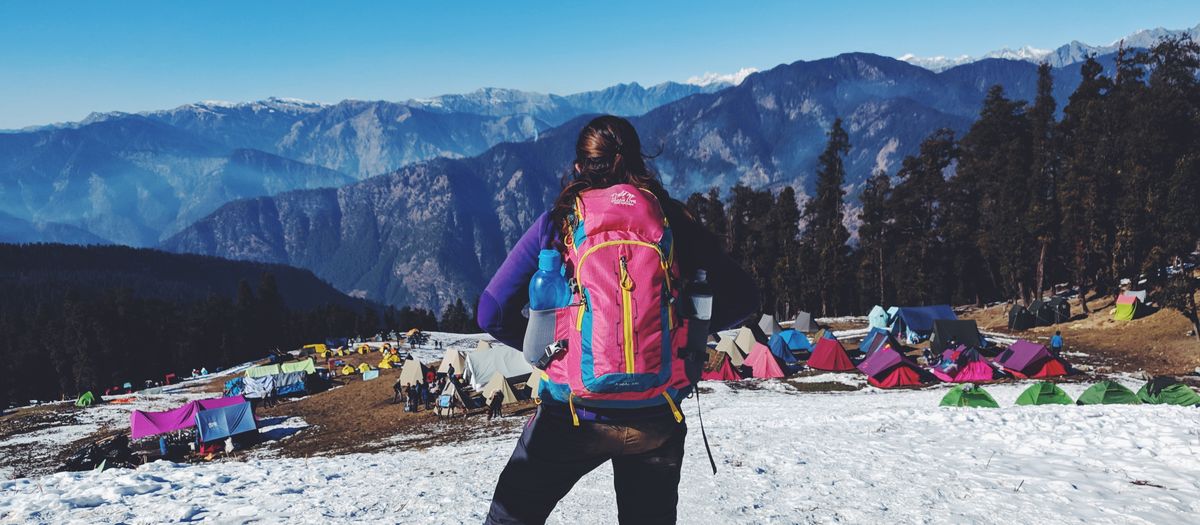
Shoulder season — late fall and early spring around here — is my favourite time to be out and the trickiest to pack for. The summer setup is too cold. A dedicated winter bag and winter pad is overkill, expensive, and heavy to haul for nights that only dip a bit below freezing. The answer I’ve settled on isn’t buying more dedicated gear; it’s layering a 3-season system to stretch it colder. Here’s how I do it.
Why layering beats buying a winter bag
The same logic that works for clothing works for sleep: several layers you can add or remove are more versatile than one big single-purpose item. A winter bag is wonderfully warm and completely useless in summer. A 3-season system you can layer up covers a much wider range of nights for less money and, often, less weight on the trips where you don’t need the full stack.
It also fits the warmth-to-weight philosophy. I’d rather carry a light 3-season setup plus a couple of light layering pieces I can leave home on warm trips than commit to one heavy bag I’m stuck with regardless of forecast.
Layer 1: stack your pads
This is the one most people miss, and it’s the biggest single warmth gain. R-values add up when you stack pads, so putting a thin closed-cell foam pad (R-2 or so) under your 3-season air pad (R-3.5 or so) gives you around R-5.5 — solidly into cold-weather territory — for very little weight and zero extra cost if you already own both.
It’s the trick I lean on hardest in shoulder season, because the ground is the thief. As the season turns, the ground gets colder and pulls heat away faster, so the pad often needs to step up more than the bag does. Stacking is how I step it up without buying a winter pad. (If you’re fuzzy on why the pad matters this much, R-value explained is the background.)
The foam pad pulls double duty too: it’s a leak-proof backup for the air pad, a sit pad at camp, and insurance against a cold night if anything goes wrong.
Layer 2: add a liner
A sleeping bag liner slips inside your bag and adds a bit of warmth — manufacturers often claim several degrees, and while I treat those claims loosely, a good liner genuinely takes the edge off a cold night. A silk or merino liner is light, packs tiny, keeps your bag cleaner (so you wash it less, which preserves loft), and feels nicer against the skin than bare nylon.
For shoulder season, a liner is one of the highest-value, lowest-weight things you can add. It’s the cheapest way to nudge a 3-season bag a little colder. I get into which liners actually earn their weight in liners and pillows that earn their weight, and I keep a sorted roundup in the best sleeping bag liners guide.
Layer 3: sleep in your insulation
The warm clothes you’re already carrying are part of the system. On a cold night I sleep in:
- Clean, dry base layers (never the sweaty ones you hiked in — damp clothing chills you).
- A puffy jacket, if it’s cold enough.
- A warm hat. You lose real heat from your head, and on a quilt or hoodless bag a hat matters even more.
- Dry socks dedicated to sleeping.
Dry is the key word. Change out of anything damp before bed; moisture is what makes you cold. Sleeping in your insulation can add a surprising amount of warmth to a 3-season bag, and it’s weight you’re already carrying.
Layer 4: the small stuff
A few habits that add up:
- Eat before bed. Your body generates heat digesting; a snack before sleep genuinely helps.
- Hot water bottle. A leak-proof bottle filled with hot water, tucked into the footbox, is an old trick that works.
- Vent moisture. Counterintuitively, a stuffy tent lets condensation build and dampen your bag. A little ventilation keeps things drier and, over the night, warmer.
- Pitch out of the wind and off the lowest ground, where cold air pools.
A worked example from a frosty spring night
To make this concrete, here’s a real shoulder-season setup I’ve used for a forecast low around the mid-20s°F. My summer kit — a 40°F-ish quilt over a single R-3 air pad — would have left me cold by a wide margin. Instead of swapping for winter gear, I layered:
- Pads stacked: the R-3 air pad over a thin R-2 foam pad, for roughly R-5 underneath. That’s the move that does the most, because by spring the ground is still holding winter’s cold and it’s the ground doing the stealing.
- Bag: my 3-season down quilt, sealed properly to the pad with the straps so no draft snuck in along the open edges.
- Liner inside for a few extra degrees and to keep the quilt clean.
- Worn to bed: dry base layers I hadn’t hiked in, a puffy, a beanie, and dedicated sleep socks.
- Habits: a snack before bed, a hot-water bottle in the footbox, and the tent vented just enough to keep condensation off the quilt.
That stack covered a night well below what my summer setup could touch, using gear I already owned, and packed down small enough that the only “extra” was the foam pad strapped outside. That’s the whole point of layering: range without a second wardrobe of sleep gear.
Putting the stack together
My typical shoulder-season system: 3-season bag or quilt bought to a Comfort rating with margin, air pad stacked over a thin foam pad for the R-value jump, a liner inside, and dry sleep clothes plus a hat. That covers nights well below where my summer setup gives up, without owning a single piece of dedicated winter gear.
The trick is matching the whole stack to the forecast low. I plug the overnight low into the sleep-system matcher to get the target bag Comfort rating and pad R-value, then build the layers up to hit those numbers. And if you find yourself layering this hard every trip, that’s the signal it’s time to look at a true cold-weather sleep system instead — there’s a point where dedicated gear is genuinely the lighter, warmer answer.
These are general observations from my own trips, not lab measurements or a prescription for your specific gear. Temperature ratings are lab figures (ISO 23537) and R-values are lab figures (ASTM F3340); real-world warmth varies with the sleeper, the pad, the shelter and the conditions, and no rating is a survival guarantee. In genuinely cold conditions, plan with real margin.